Sealos 集群部署
大规模集群以及企业生产环境强烈建议使用 Sealos 私有云的企业版或者定制版。
准备工作
服务器
以下是一些基本的要求:
- 每个集群节点应该有不同的主机名。
- 所有节点的时间需要同步。
- 建议使用干净的操作系统来创建集群。不要自己装 Docker!
- 支持大多数 Linux 发行版,例如:Ubuntu、Debian、CentOS、Rocky linux。
- 系统内核版本在 5.4 及以上。
- 必须使用 root 用户安装!
推荐配置:
推荐使用 Ubuntu 22.04 LTS 操作系统,内核版本在 5.4 及以上,配置如下:
| 操作系统 | 内核版本 | CPU | 内存 | 存储 | Masters | Nodes |
|---|---|---|---|---|---|---|
| Ubuntu 22.04 LTS | ≥ 5.4 | 8C | 16GB | 100GB | 奇数台 | 任意 |
Kubernetes 和 Sealos Cloud 的系统组件在每个 Master 节点上大约需要 2 核心(2c)和 2GB 内存(2g),在每个 Node 节点上则需要大约 1 核心(1c)和 1GB 内存(1g),请确保集群中每个节点都有足够的计算资源以支持系统组件的运行。
网络
- 所有节点之间网络互通;
- 需要在 Kubernetes 集群的第一个 Master 节点上执行脚本,目前集群外的节点不支持集群安装;
- 所有节点之间可以互相通信。
域名
- 需要一个域名用于访问 Sealos 及相关服务;
- 如果您没有域名,可以使用
nip.io提供的免费域名服务。
证书
Sealos 需要使用证书来保证通信安全,默认在您不提供证书的情况下我们会使用 cert-manager 来自动签发证书。
如果您能提供证书,证书需要解析下列域名 (假设您提供的域名为:cloud.example.io):
*.cloud.example.iocloud.example.io
安装步骤
为了便于部署,我们提供了一个一键安装脚本。该脚本可以从零开始部署 Sealos 集群,也可以在已有的 Kubernetes 集群上部署 Sealos 集群(在已有集群上执行时请谨慎操作)。
该脚本只支持在 “使用 Sealos 安装的 Kubernetes 集群” 上部署 Sealos 集群,暂不支持其他方式部署的 Kubernetes。
关于如何使用 Sealos 部署 Kubernetes 集群,可以参考:安装 Kubernetes 集群 ,支持 Docker Hub 中的几乎所有 Kubernetes 版本(暂不支持 1.28 及以上版本 )。
如果您的机器还没有安装过 Kubernetes,建议直接使用该脚本连同 Kubernetes 和 Sealos 集群一起安装。
根据您的域名情况,可以分为以下几种安装方式:
1、无公网域名,也不想自定义域名
如果您没有公网域名,也不需要自定义域名,可以选择直接使用 nip.io 提供的免费域名服务。nip.io 是一个免费的通配符 DNS 服务,它可以将动态分配的 IP 地址映射到一个固定的子域名上,特别适合用于本地开发环境。具体的工作原理为:
您可以使用任何 IP 地址作为 nip.io 子域名的一部分,而 nip.io 会将它解析回相应的 IP 地址。例如,如果你有一个内网 IP 地址 192.168.1.10,你可以使用 192.168.1.10.nip.io 作为域名,所有向这个域名发送的请求都会被解析到 192.168.1.10 这个 IP 地址上。这样就无需修改本地 hosts 文件,也不需要搭建内网 DNS 服务,直接通过这个域名就能访问内网服务了。
使用 nip.io 作为 Sealos 的域名非常简单,只需在第一个 Master 节点上执行以下命令,并根据提示输入参数:
$ curl -sfL https://mirror.ghproxy.com/https://raw.githubusercontent.com/labring/sealos/v5.0.0/scripts/cloud/install.sh -o /tmp/install.sh && bash /tmp/install.sh \
  --cloud-version=v5.0.0 \
  --image-registry=registry.cn-shanghai.aliyuncs.com --zh \
  --proxy-prefix=https://mirror.ghproxy.com
当需要你输入 Sealos Cloud 域名时,你需要输入这种格式的域名:[ip].nip.io,其中 [ip] 是你的 Master 节点 IP。
安装完成后,终端会输出 Sealos 访问域名以及用户名和密码,例如:
Sealos cloud login info:
Cloud Version: latest
URL: https://10.214.210.102.nip.io
admin Username: admin
admin Password: sealos2023
2、有公网域名,想公网访问
如果你有自己的公网域名,并且想通过公网访问 Sealos,那你就需要准备好公网受信任的 SSL/TLS 证书。你可以通过 acme.sh 等工具自动签发证书,也可以从域名提供商处下载免费证书或者购买商业证书。
如果你的公网 IP 在国内,那么域名必须要备案!
准备好域名证书后,需要将证书放到第一个 Master 节点的某个目录中,例如 /root/certs/。
您还需要在域名服务商处添加一条该域名的 A 记录,地址解析到第一个 Master 节点的公网 IP 地址。同时还需要添加一条泛解析记录,将该域名的子域名也解析到第一个 Master 节点的公网 IP 地址。
例如 (假设你的域名是 cloud.example.io,假设你的 Master 节点公网地址是 192.168.1.10):
cloud.example.io   A   192.168.1.10
*.cloud.example.io   A   192.168.1.10
然后在第一个 Master 节点上执行以下命令,并根据提示输入参数:
$ curl -sfL https://mirror.ghproxy.com/https://raw.githubusercontent.com/labring/sealos/v5.0.0/scripts/cloud/install.sh -o /tmp/install.sh && bash /tmp/install.sh \
  --cloud-version=v5.0.0 \
  --image-registry=registry.cn-shanghai.aliyuncs.com --zh \
  --proxy-prefix=https://mirror.ghproxy.com \
  --cloud-domain=<your_domain> \
  --cert-path=<your_crt> \
  --key-path=<your_key>
<your_domain>需要替换成你自己的公网域名。<your_crt>需要替换成你的证书位置,通常是.crt或.pem文件。例如:/root/certs/example.crt。<your_key>需要替换成你的私钥位置,通常是.key或.pem文件。例如:/root/certs/example.key。
3、有公网域名,想内网访问
如果您有自己的公网域名,但是只有内网 IP,或者只想在内网访问 Sealos,那您只需要在域名服务商处添加一条该域名的 A 记录,地址解析到第一个 Master 节点的内网 IP 地址。同时还需要添加一条泛解析记录,将该域名的子域名也解析到第一个 Master 节点的内网 IP 地址。
例如 (假设你的域名是 cloud.example.io,假设你的 Master 节点内网地址是 192.168.1.10):
cloud.example.io   A   192.168.1.10
*.cloud.example.io   A   192.168.1.10
然后在第一个 Master 节点上执行以下命令,并根据提示输入参数:
$ curl -sfL https://mirror.ghproxy.com/https://raw.githubusercontent.com/labring/sealos/v5.0.0/scripts/cloud/install.sh -o /tmp/install.sh && bash /tmp/install.sh \
  --cloud-version=v5.0.0 \
  --image-registry=registry.cn-shanghai.aliyuncs.com --zh \
  --proxy-prefix=https://mirror.ghproxy.com \
  --cloud-domain=<your_domain>
其中 <your_domain> 需要替换成你自己的公网域名。
安装过程中 Sealos 会使用 cert-manager 来自签名证书。
4、无公网域名,但想自定义域名
如果您没有公网域名,但是需要自定义域名,那么就需要在内网自建 DNS,然后将自定义域名解析到第一个 Master 节点的内网 IP 地址。
假设您的第一个 Master 节点的内网 IP 地址为 192.168.1.10。假设您的域名为 cloud.example.io。
可以考虑使用 CoreDNS 来自建 DNS 服务,参考配置:
(global_cache) {
    cache {
        # [5, 60]
        success 65536 3600 300
        # [1, 10]
        denial 8192 600 60
        prefetch 1 60m 10%
    }
}

.:53 {
  errors
  health
  ready

  import global_cache

  template IN A cloud.example.io {
    answer "{{ .Name }} 60 IN A 192.168.1.10"
    fallthrough
  }

  forward . 223.5.5.5

  log
  loop
  reload 6s
}
这样不管您访问 cloud.example.io 还是 *.cloud.example.io 都会解析到第一个 Master 节点的内网 IP 地址。
然后在第一个 Master 节点上执行以下命令,并根据提示输入参数:
$ curl -sfL https://mirror.ghproxy.com/https://raw.githubusercontent.com/labring/sealos/v5.0.0/scripts/cloud/install.sh -o /tmp/install.sh && bash /tmp/install.sh \
  --cloud-version=v5.0.0 \
  --image-registry=registry.cn-shanghai.aliyuncs.com --zh \
  --proxy-prefix=https://mirror.ghproxy.com \
  --cloud-domain=<your_domain>
其中 <your_domain> 需要替换成你自己的自定义域名。
安装过程中 Sealos 会使用 cert-manager 来自签名证书。
信任自签名证书
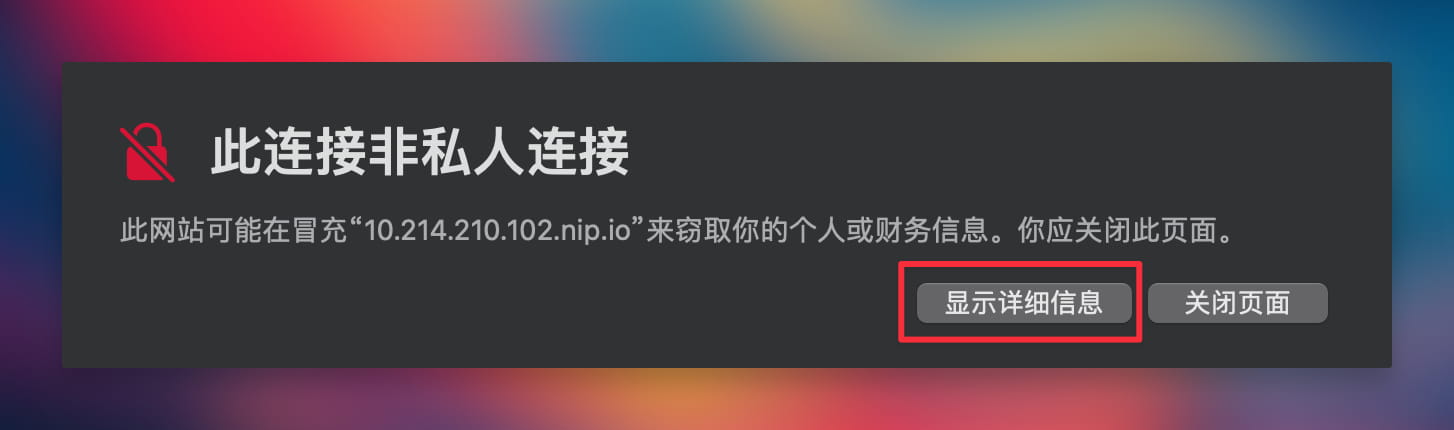
如果您选择了上面提供的安装方式中的 1 或 3 或 4,那么您的证书默认是不受浏览器信任的,当你访问 Sealos Cloud 时,浏览器会提示下面的信息:
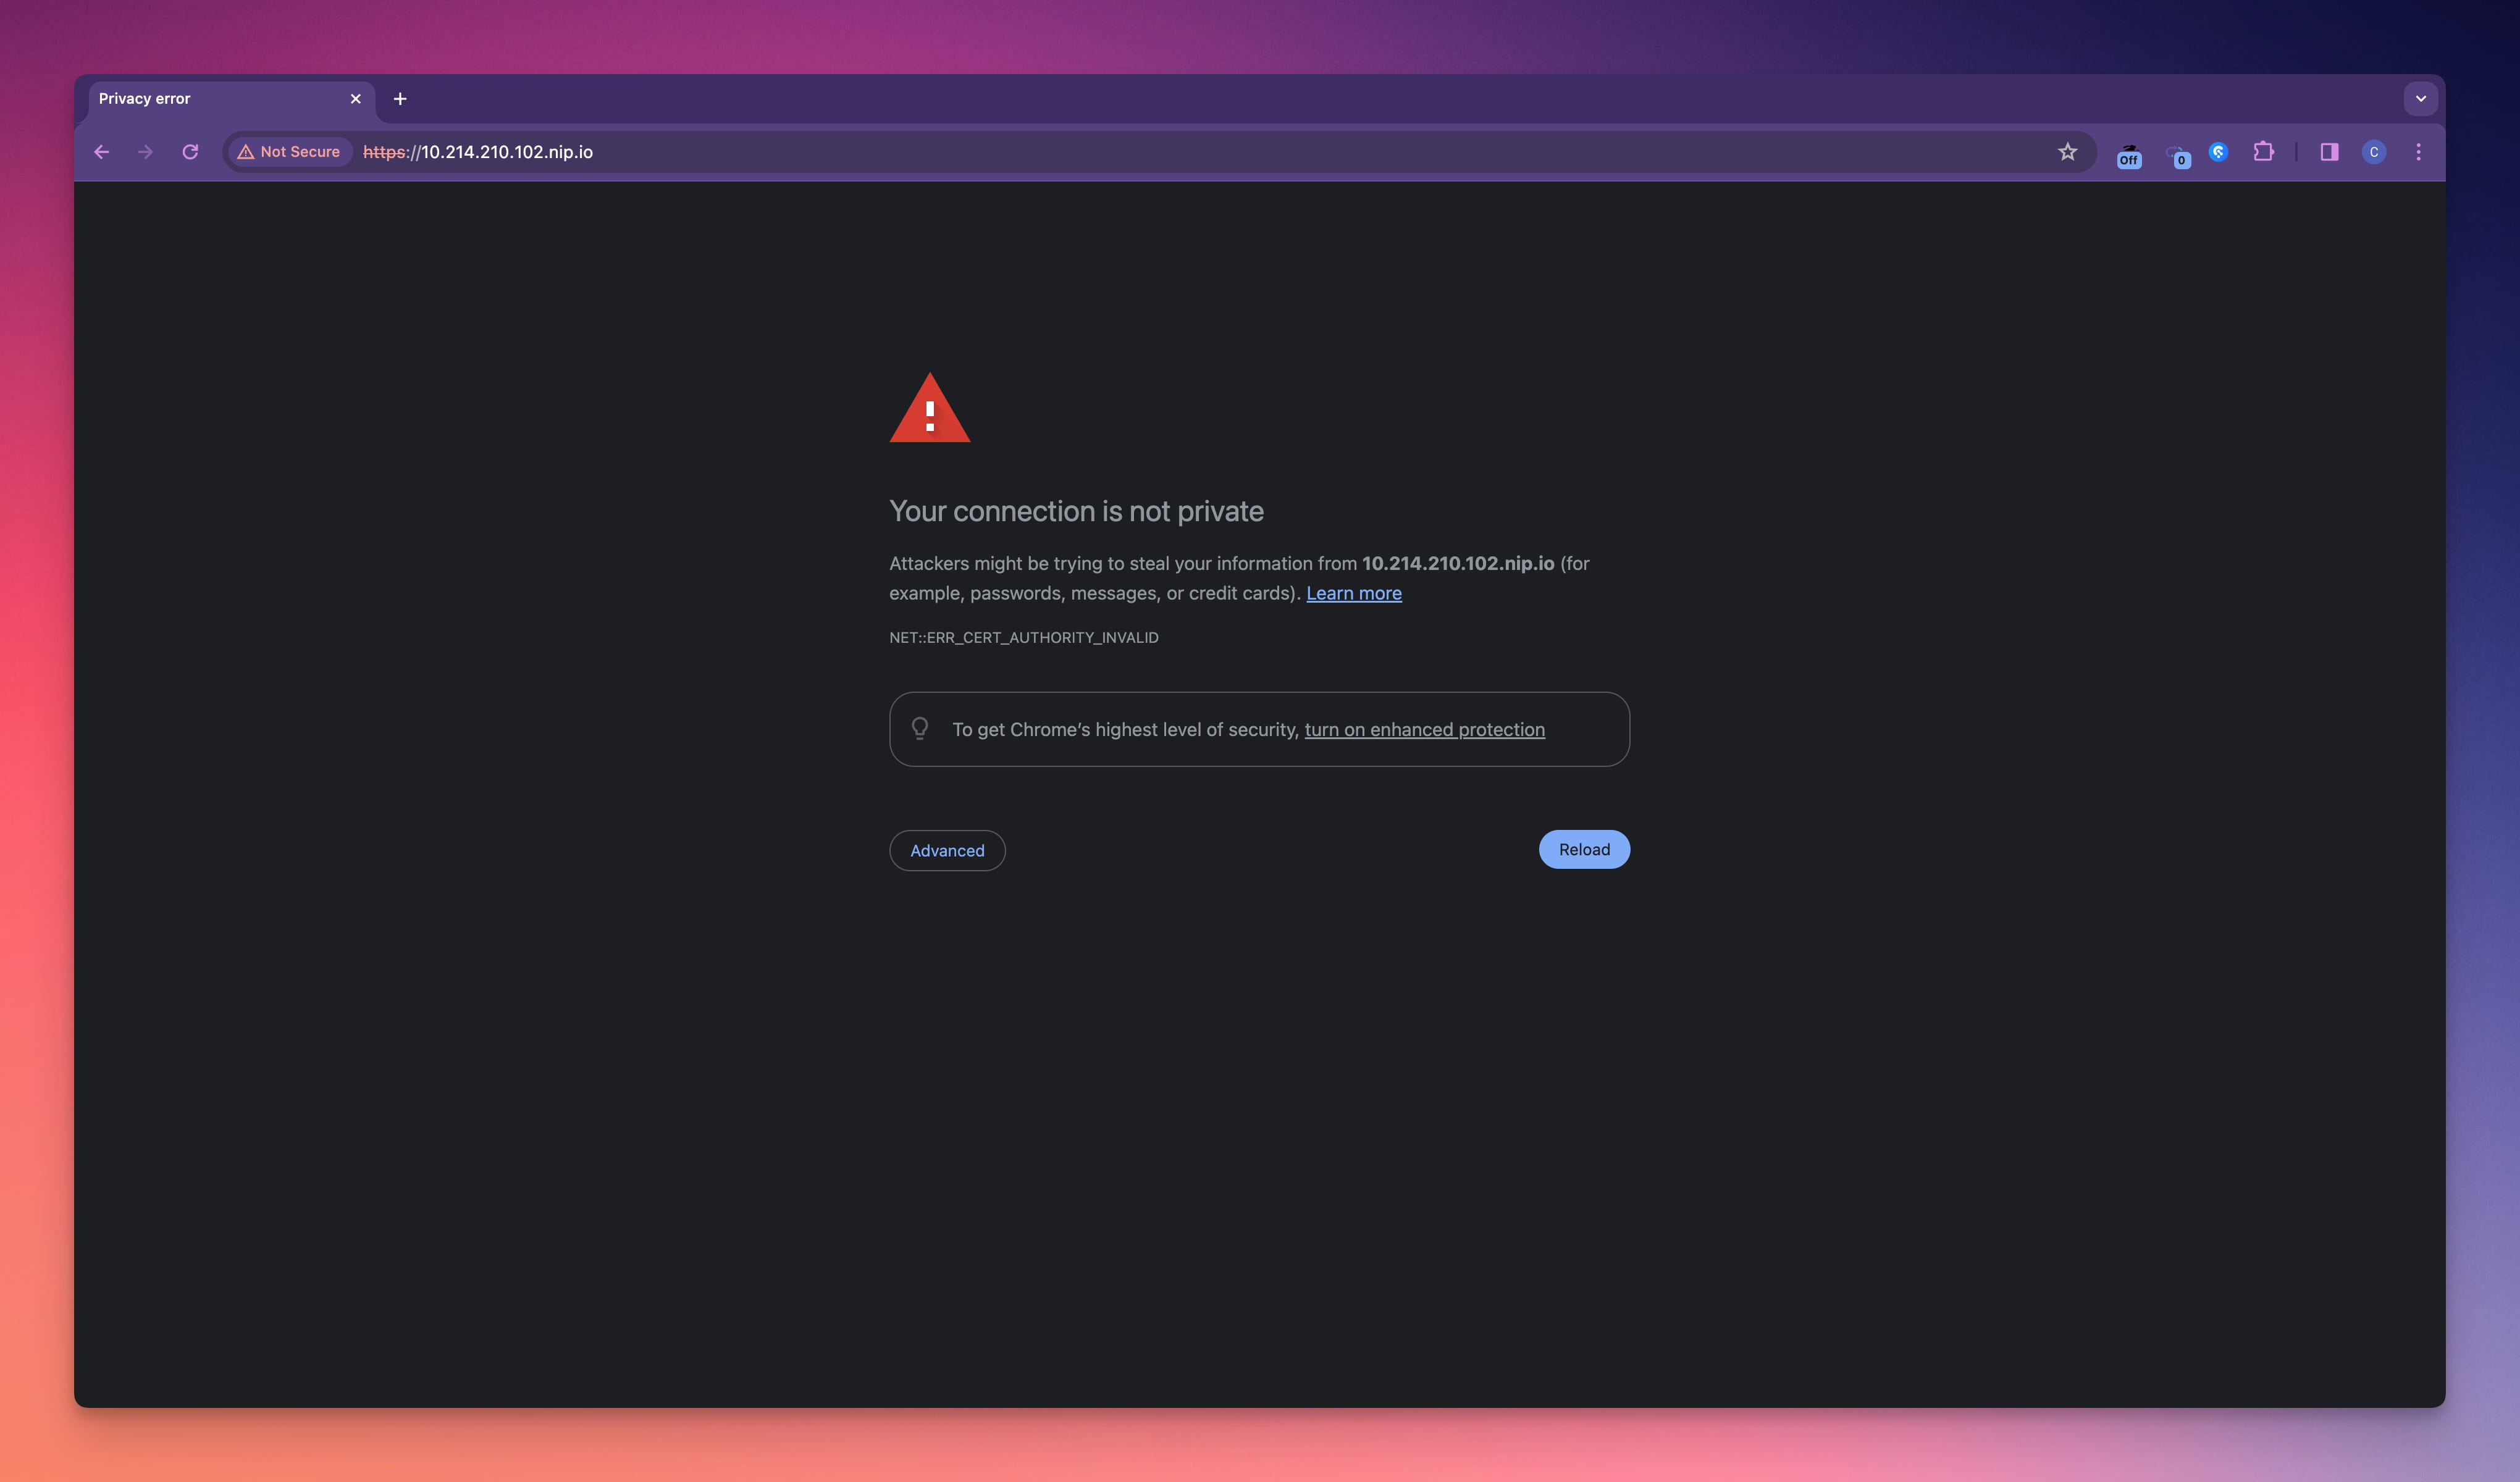
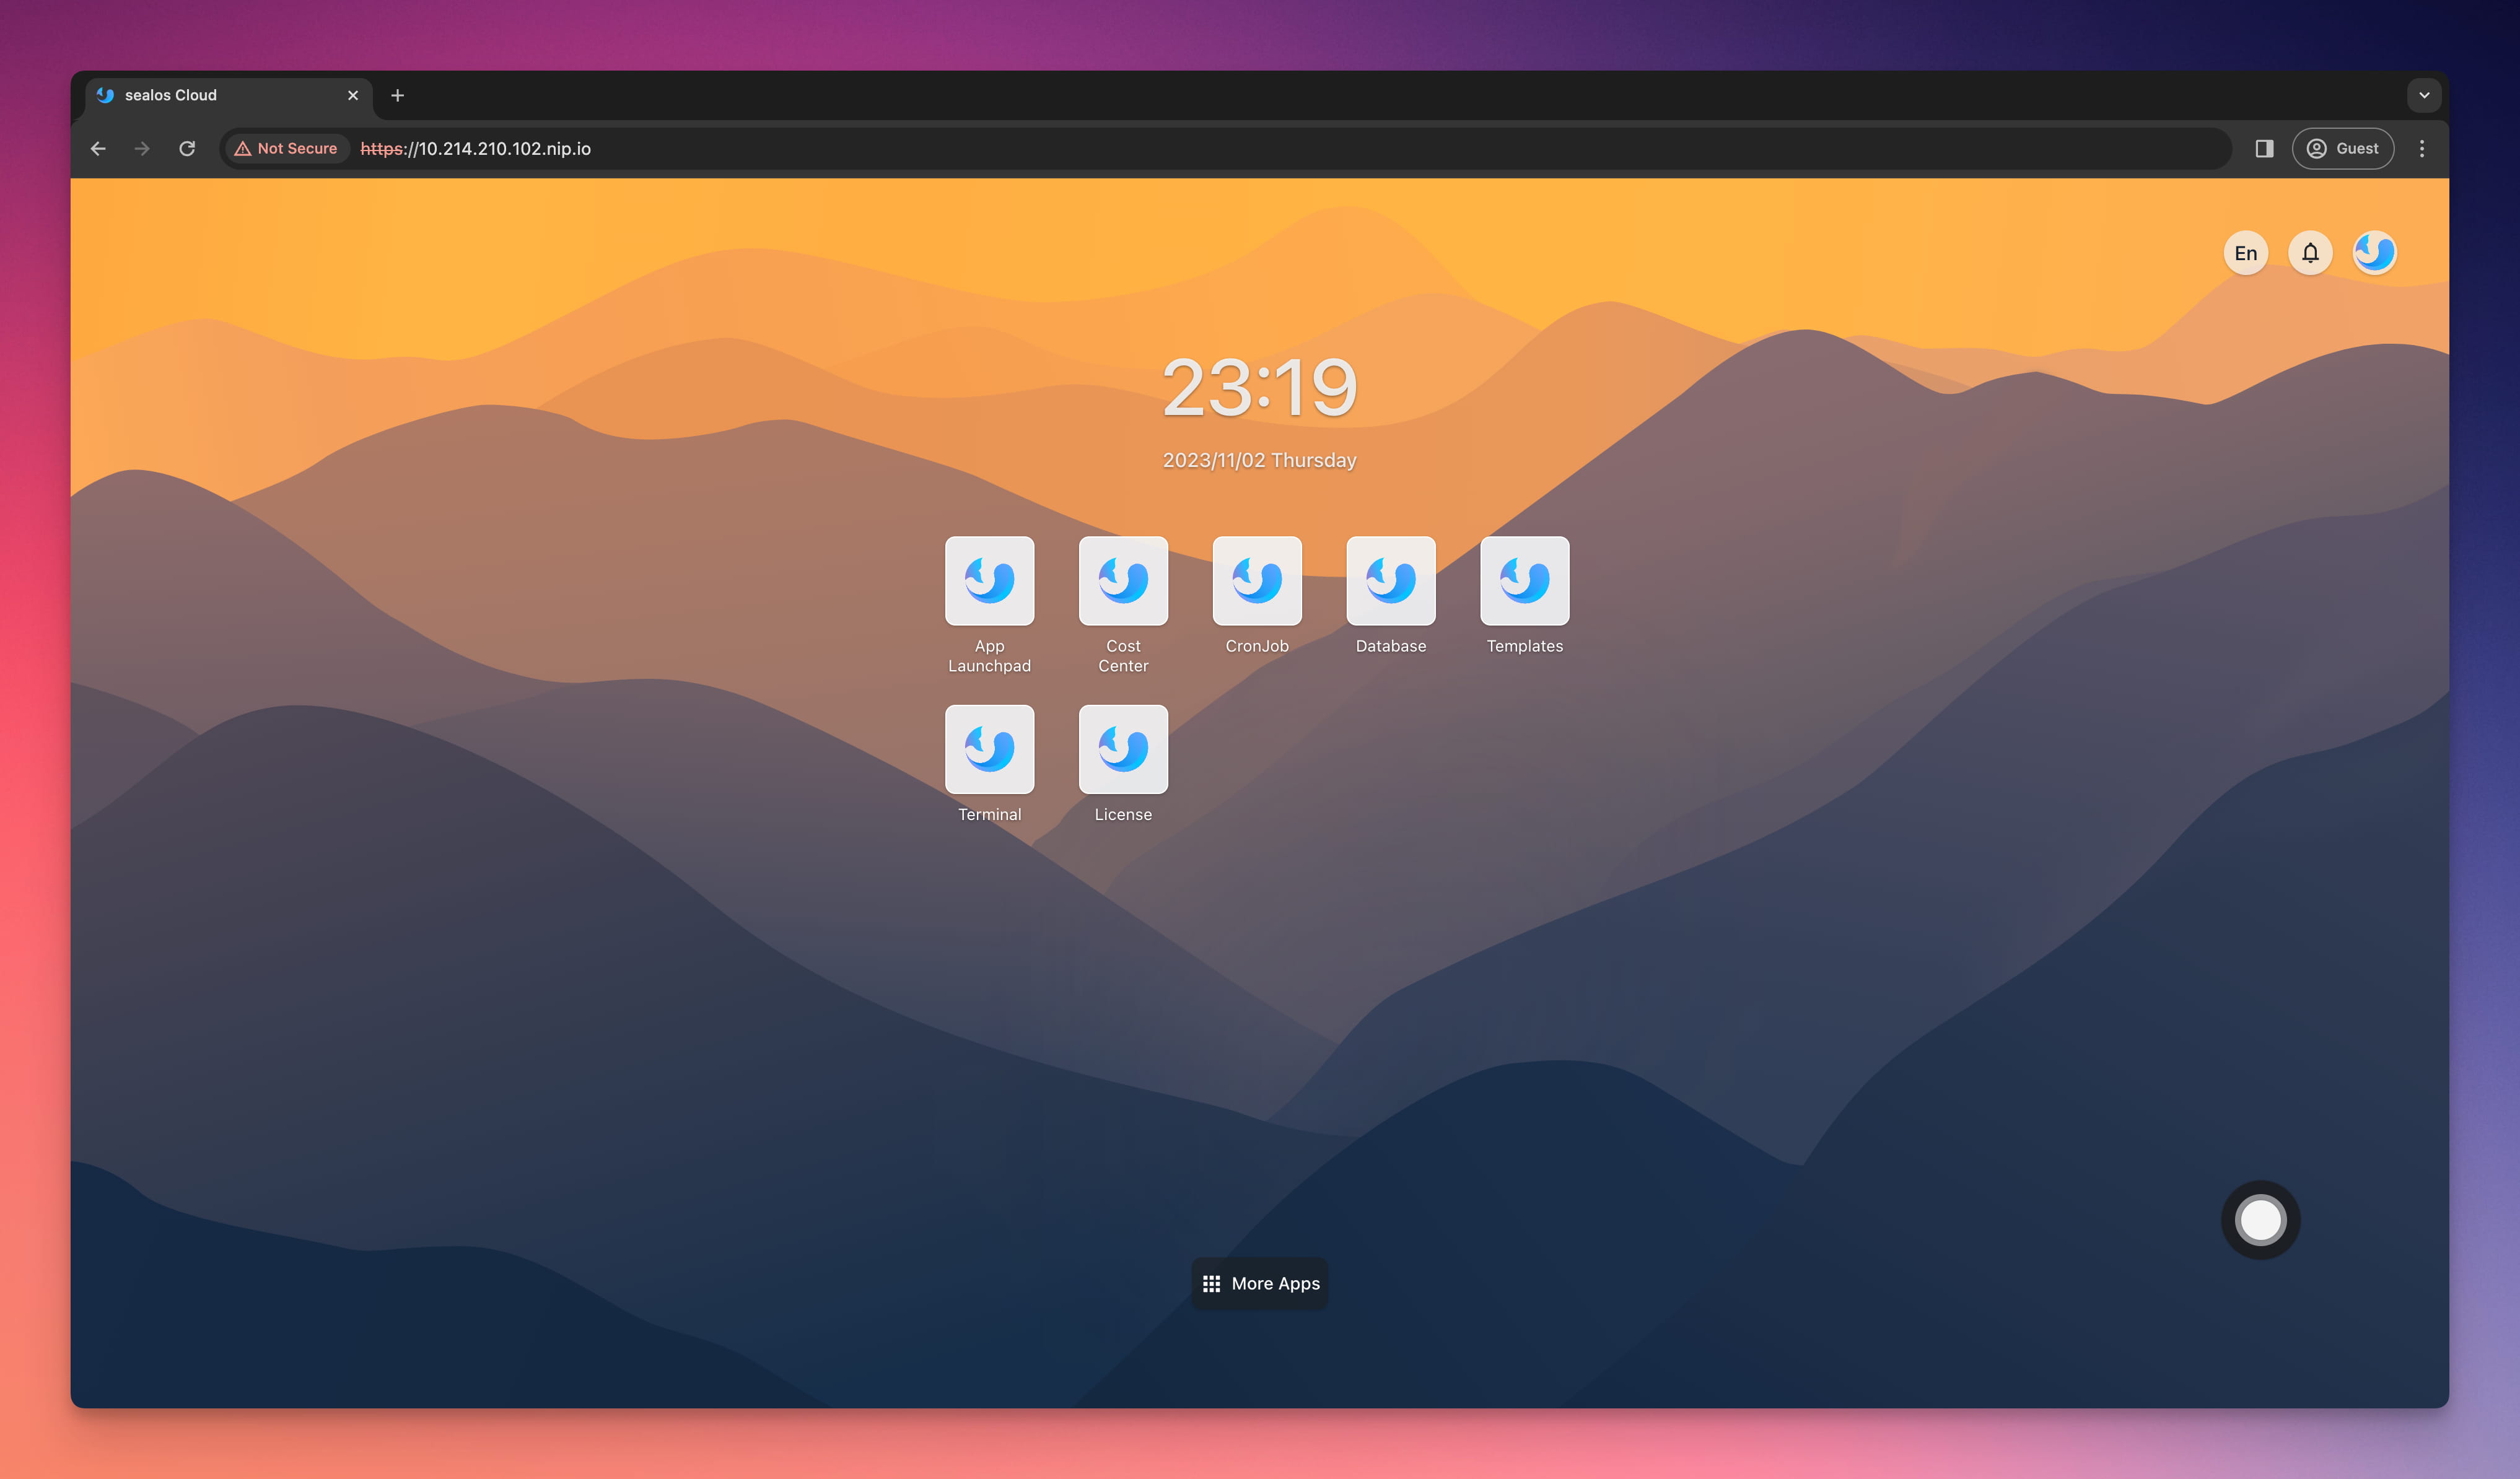
即使点击继续访问,进入 Sealos Cloud 之后也无法正常显示 App 图标,无法打开 App。
我们需要导出自签名证书,并让系统信任自签名证书。步骤如下。
导出自签名证书
各个浏览器导出自签名证书的步骤略有不同。以下是在一些常用浏览器中导出自签名证书的步骤:
Chrome (以及基于 Chromium 的浏览器如新版 Edge 和 Brave)
- 在浏览器地址栏左侧点击 “不安全” 字样。
- 点击 “证书无效”,这将打开一个证书信息窗口。
- 在打开的证书窗口中,切换到 “详细信息” 标签页。
- 在 “详细信息” 标签页中,找到并点击 “导出”。
- 选择一个文件名和保存位置,然后完成导出过程。
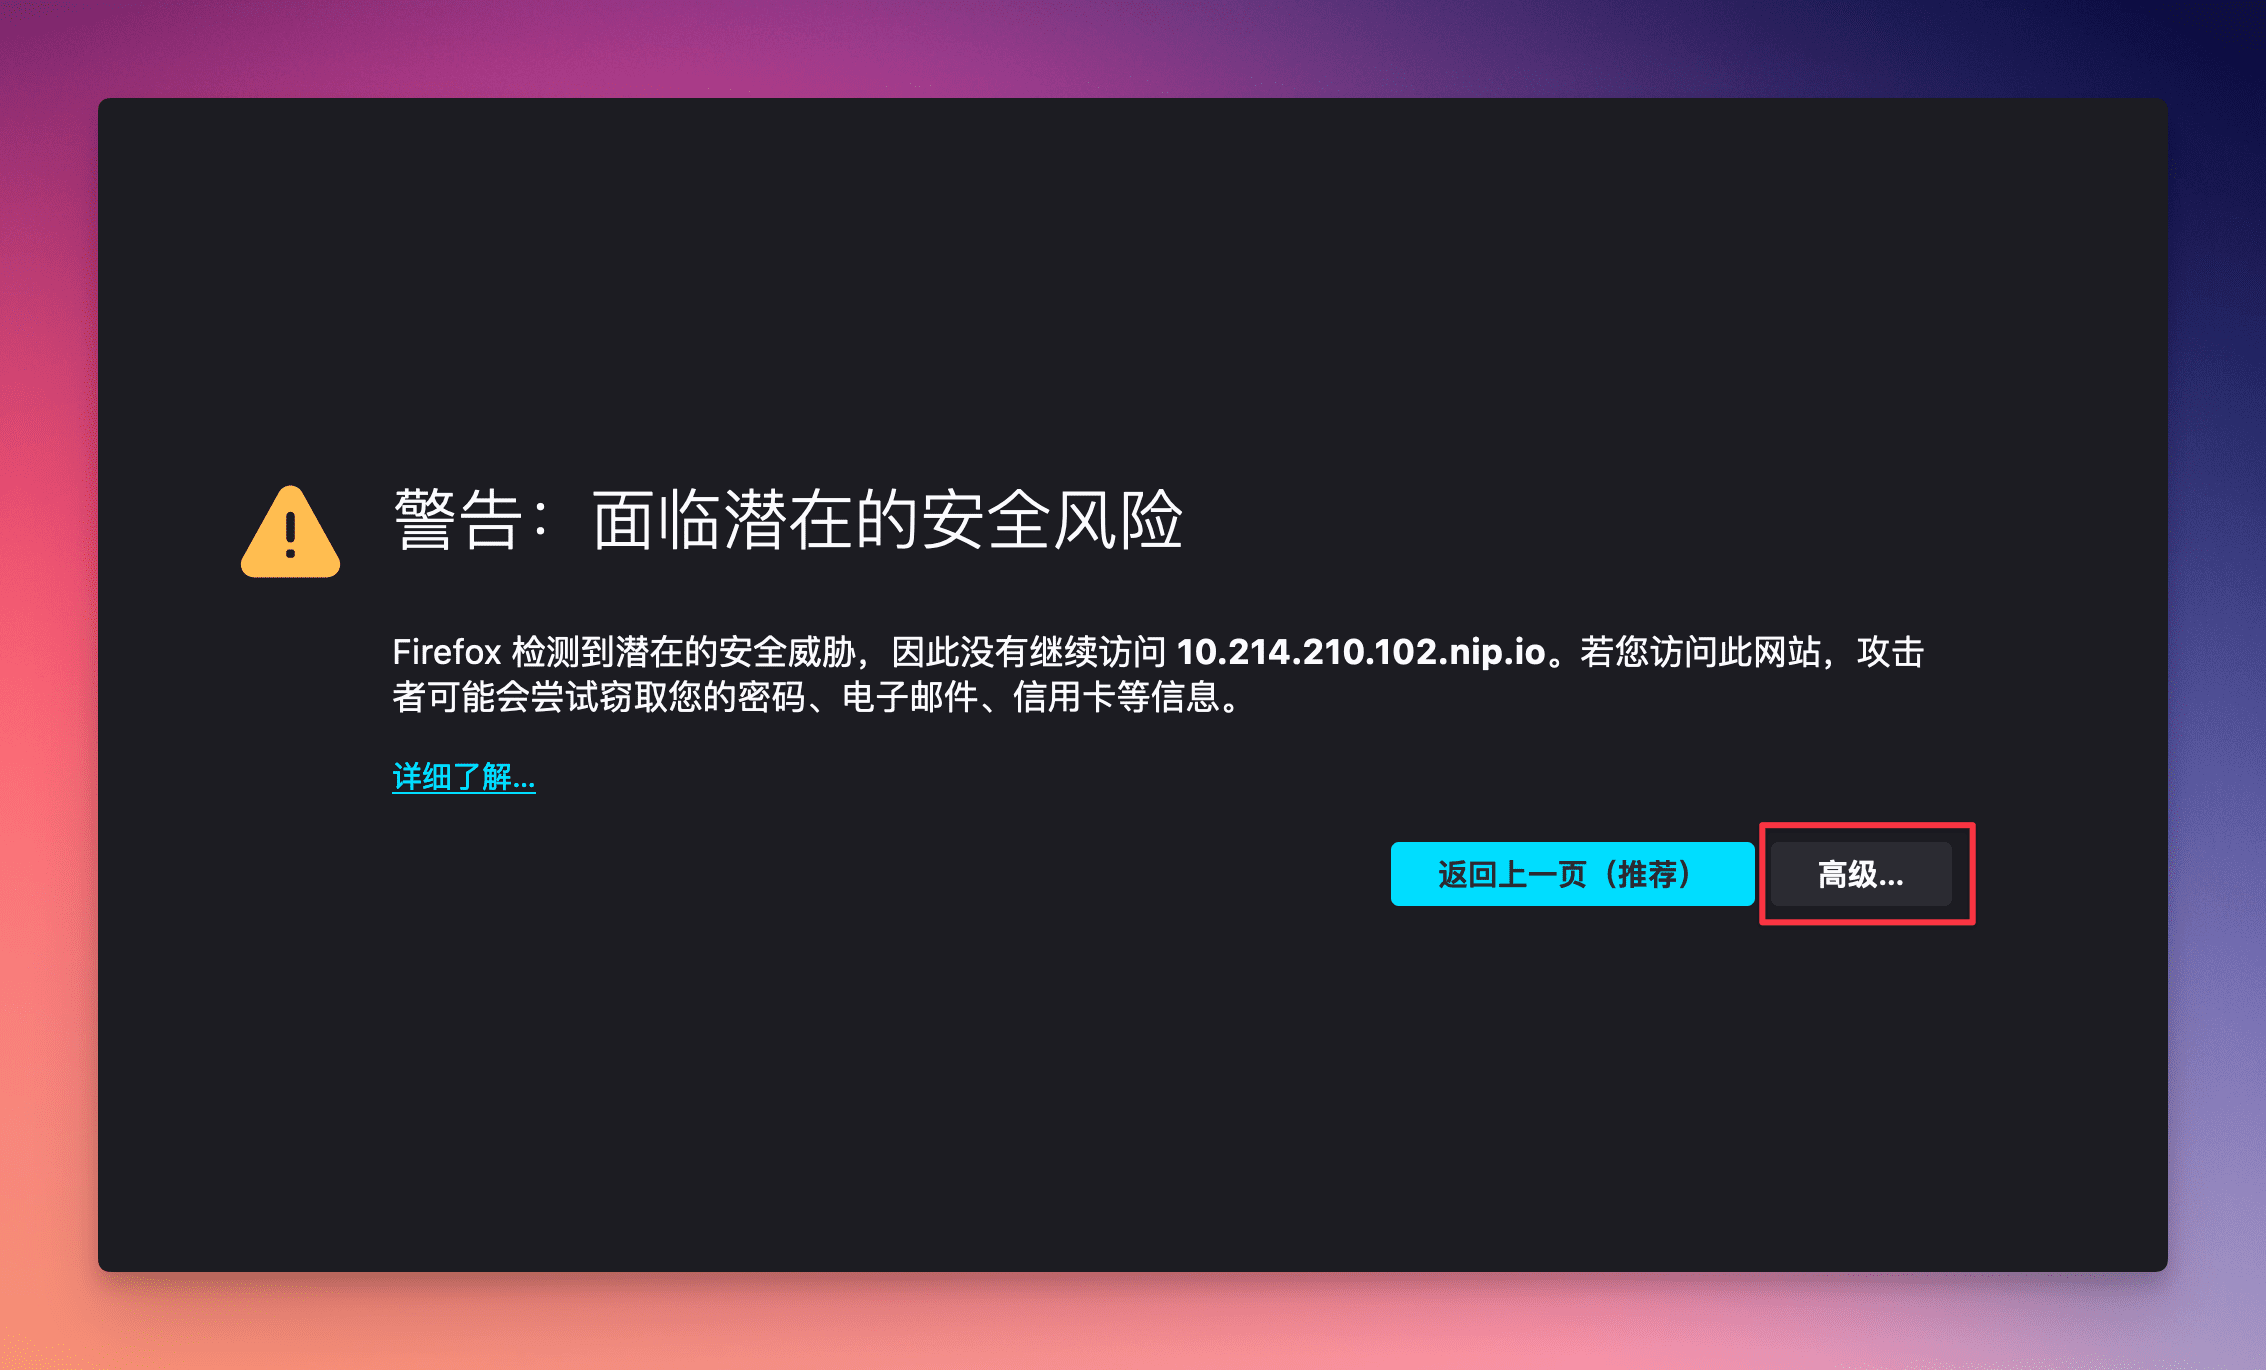
Firefox
点击页面中的 “高级”。
然后点击 “查看证书”。
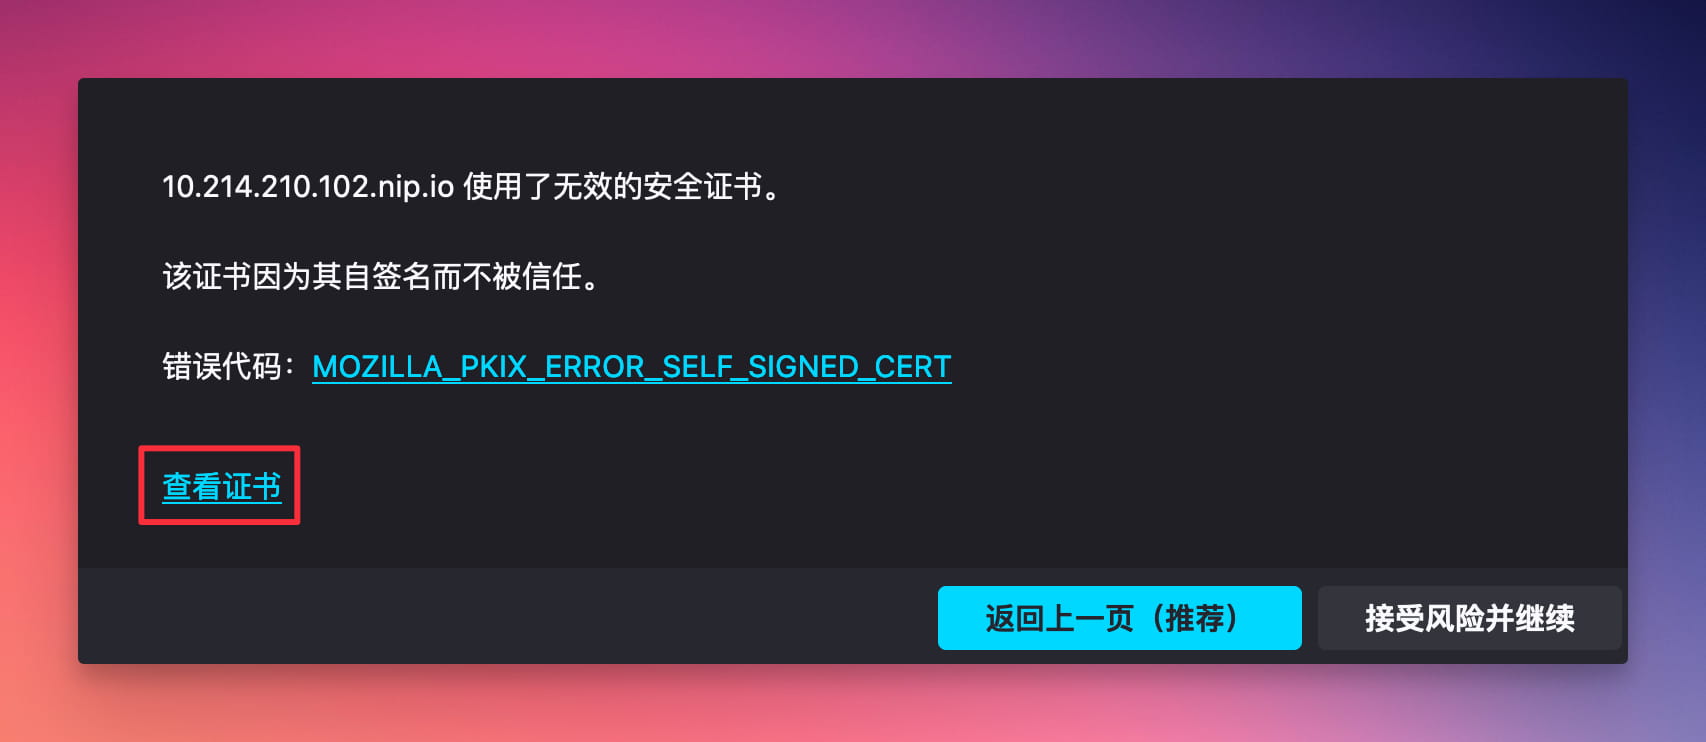
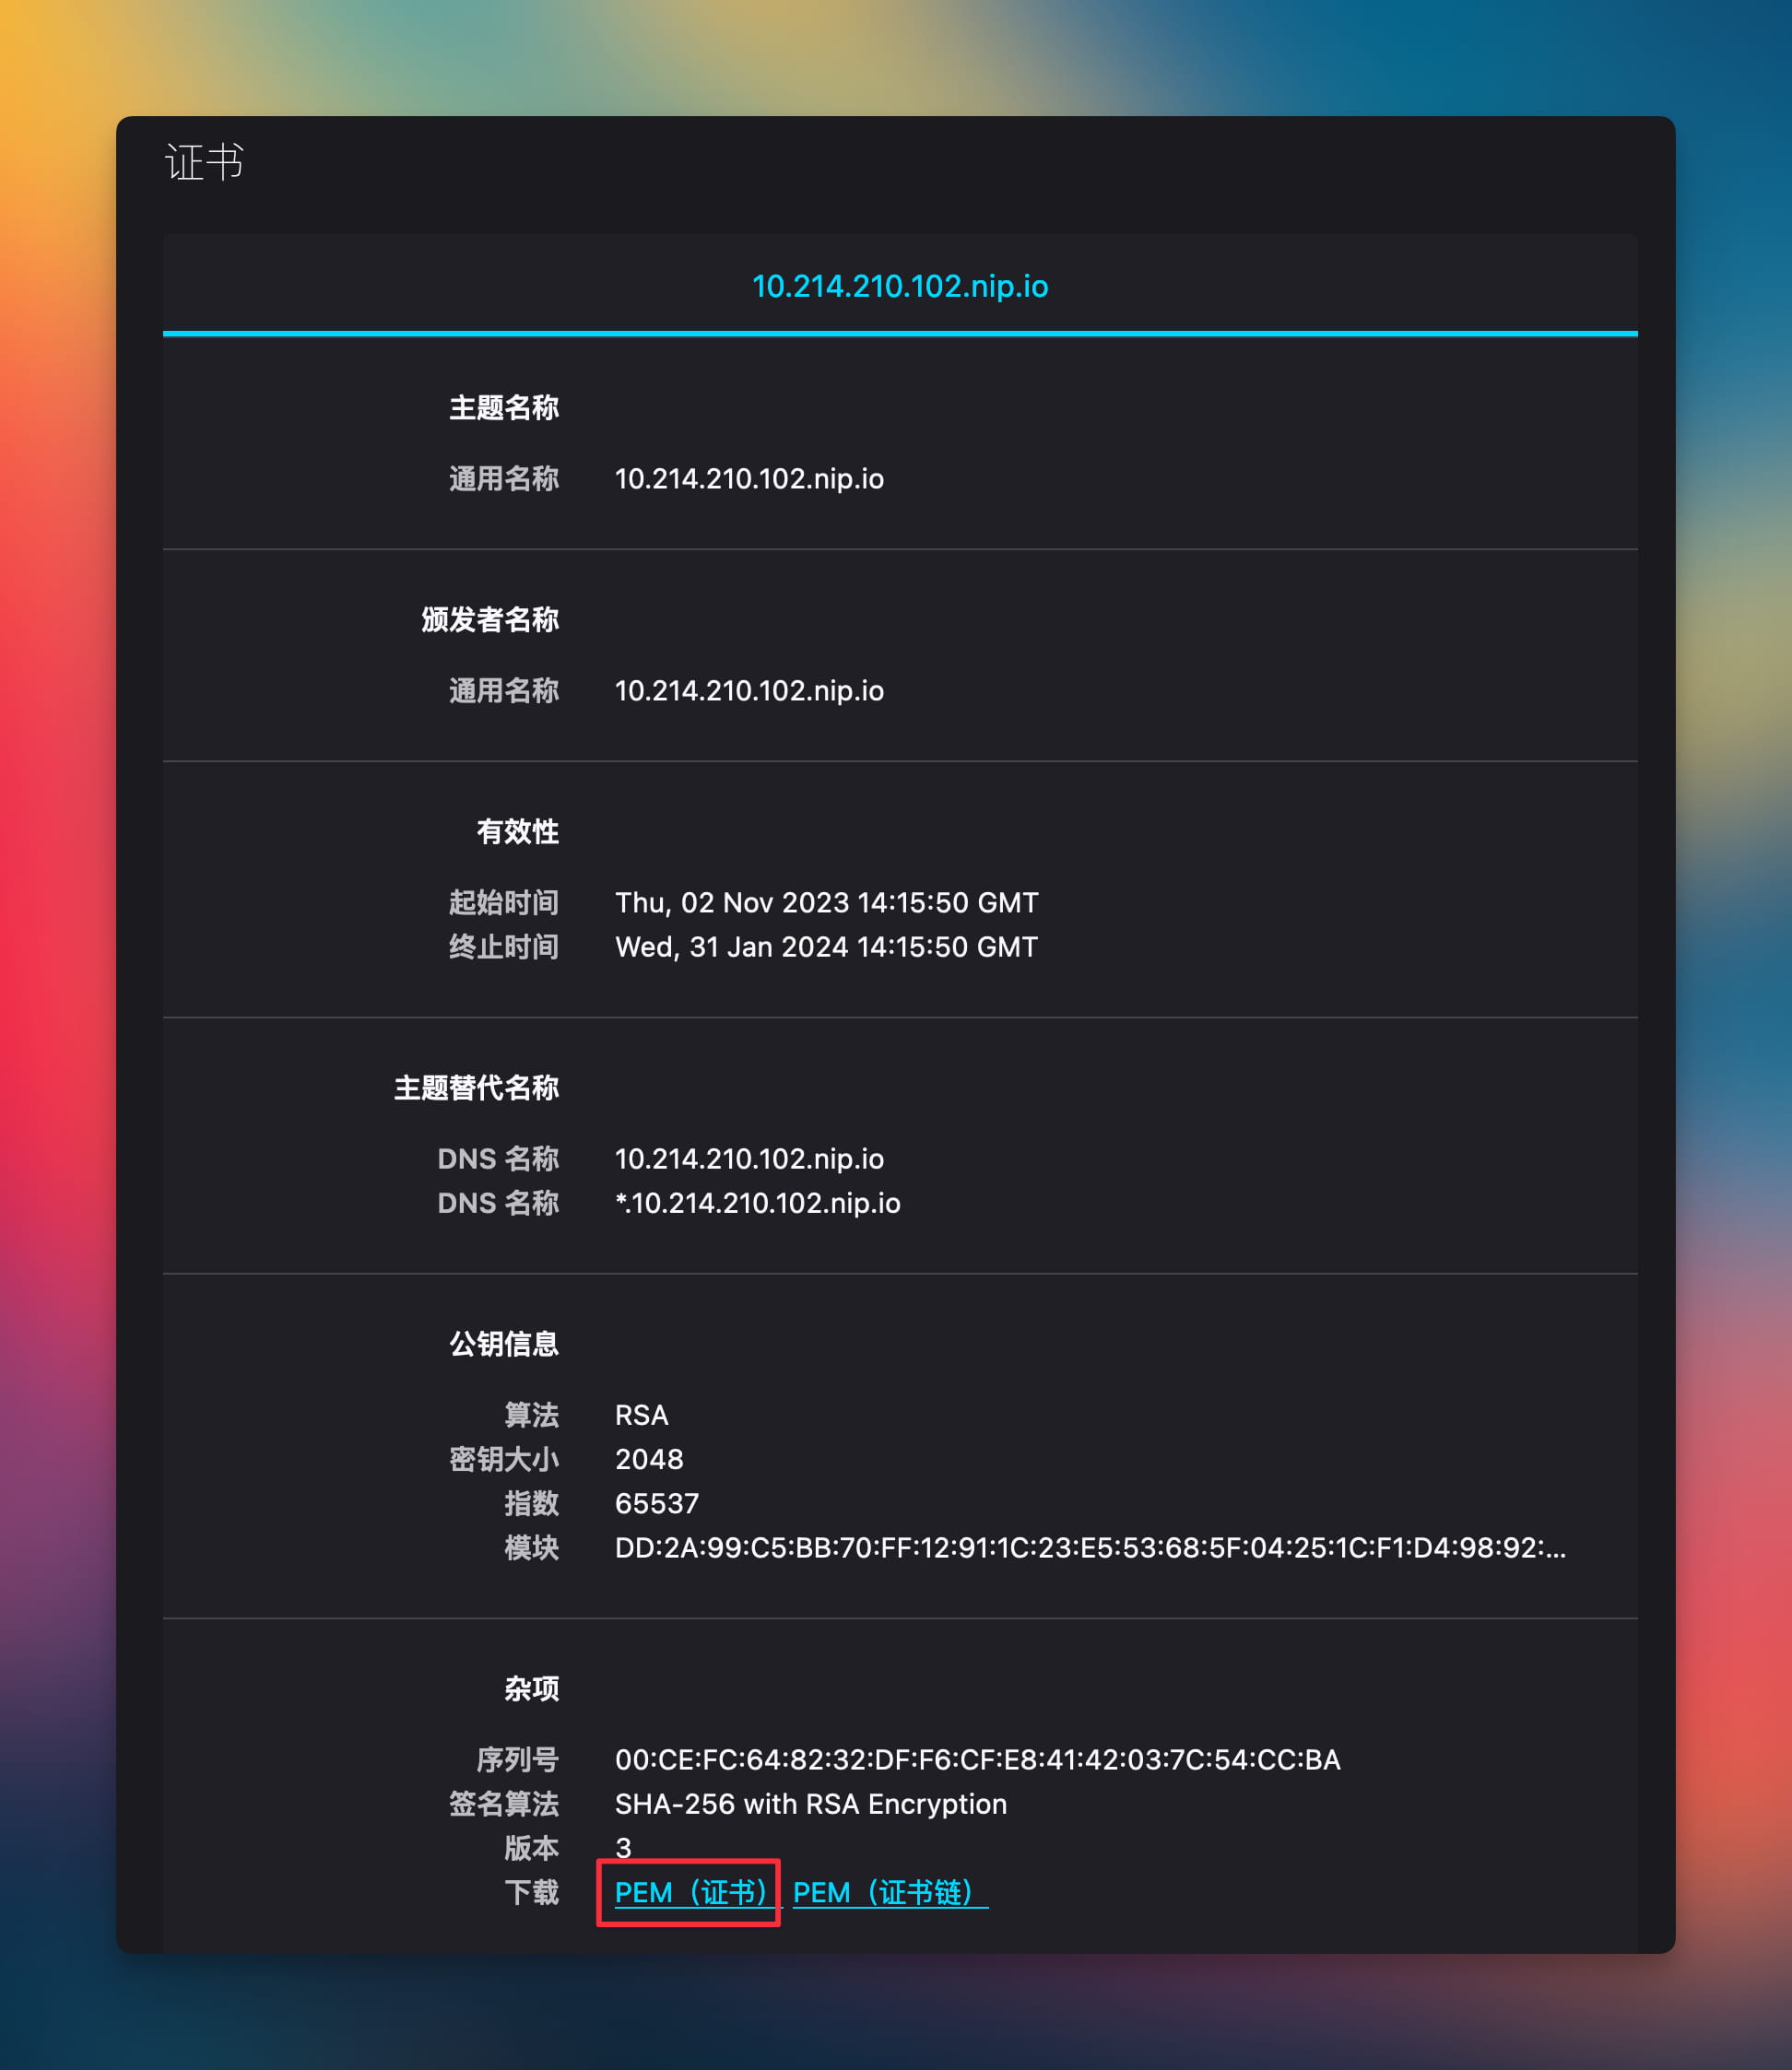
在证书页面中点击 “PEM (证书)”。
Safari
点击页面中的 “显示详细信息”。
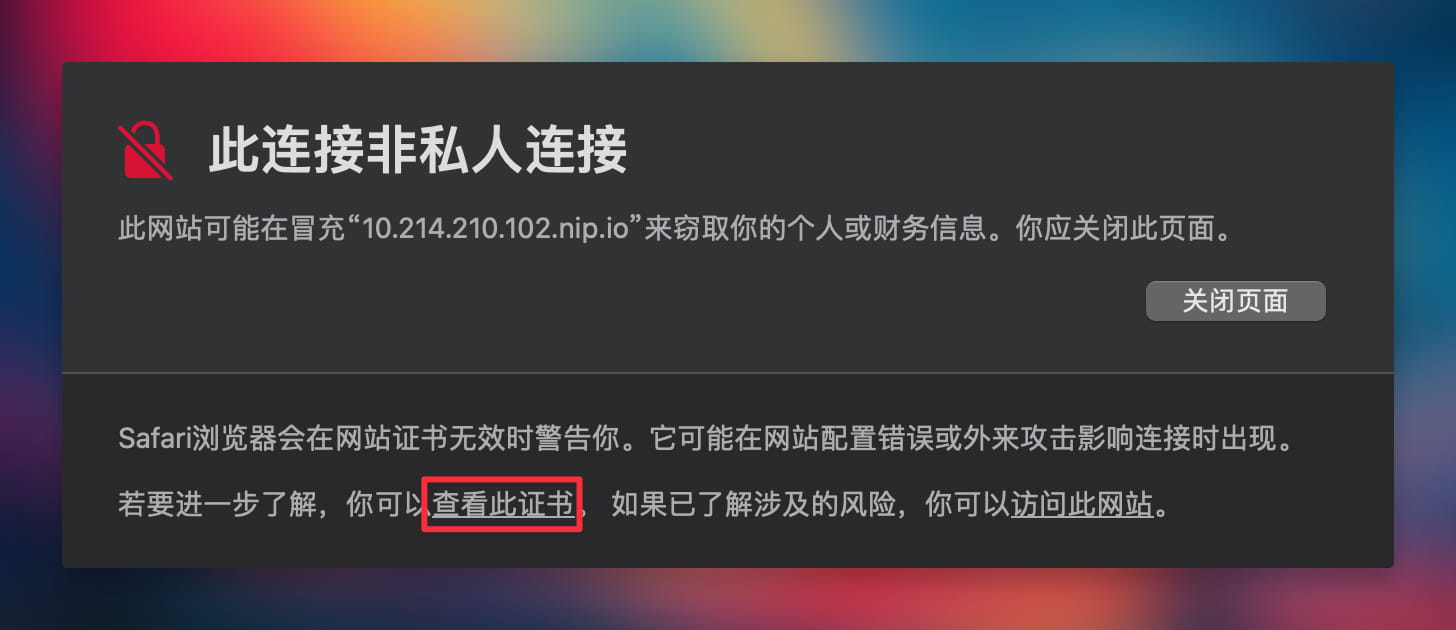
然后点击 “查看此证书”。
在证书视图中,可以看到一个带有证书链的窗口。
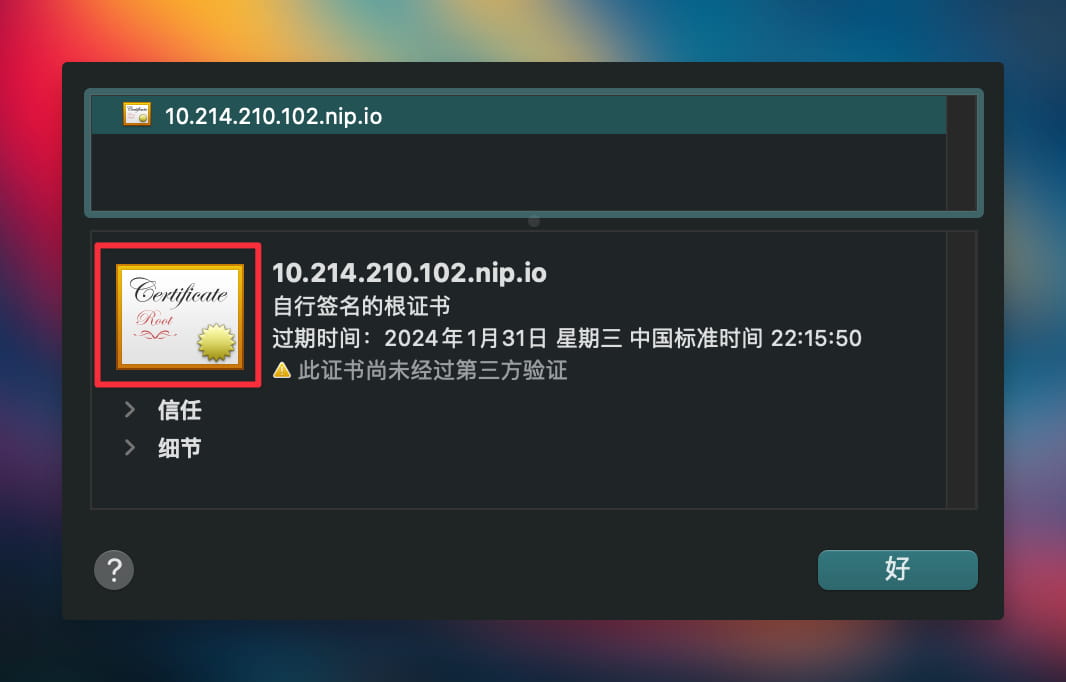
拖动红框圈出来的证书到桌面或文件夹中,证书就会被导出了。
信任自签名证书
macOS
在 macOS 上信任自签名证书可以使用以下命令:
# 假设证书保存在 ~/Downloads/10.214.210.102.nip.io.cer
$ sudo security add-trusted-cert -d -r trustRoot -k /Library/Keychains/System.keychain ~/Downloads/10.214.210.102.nip.io.cer
您也可以通过以下步骤来操作:
1、添加证书到钥匙串
- 启动钥匙串访问 (Keychain Access) 应用程序,点击左侧 “系统钥匙串” 下方的 “系统” 类别。
- 然后打开 “访达”,进入证书保存位置,双击证书文件:这通常是一个
.cer,.crt,或.pem文件。 - 输入您的用户名和密码以允许修改。
- 证书现在应该已经被添加到您的钥匙串中。
2、信任证书
- 在钥匙串访问中,从 “系统” 类别的列表中找到刚刚添加的自签名证书,并双击它。
- 在打开的窗口中,展开 “信任” 部分。
- 在 “当使用此证书时” 选项旁边,有一个下拉菜单,默认设置可能是 “使用系统默认值”。要信任证书,请改为 “始终信任”。
- 关闭证书信息窗口,系统可能会提示您验证您的用户名和密码,以确认更改。
- 现在,证书已经被标记为受信任。
自签名证书不由第三方证书颁发机构 (CA) 颁发,因此,其他设备也不会信任该证书。如果您是在公司或组织内部使用自签名证书,可能需要在每个需要信任此证书的设备上手动进行上述步骤。
Windows
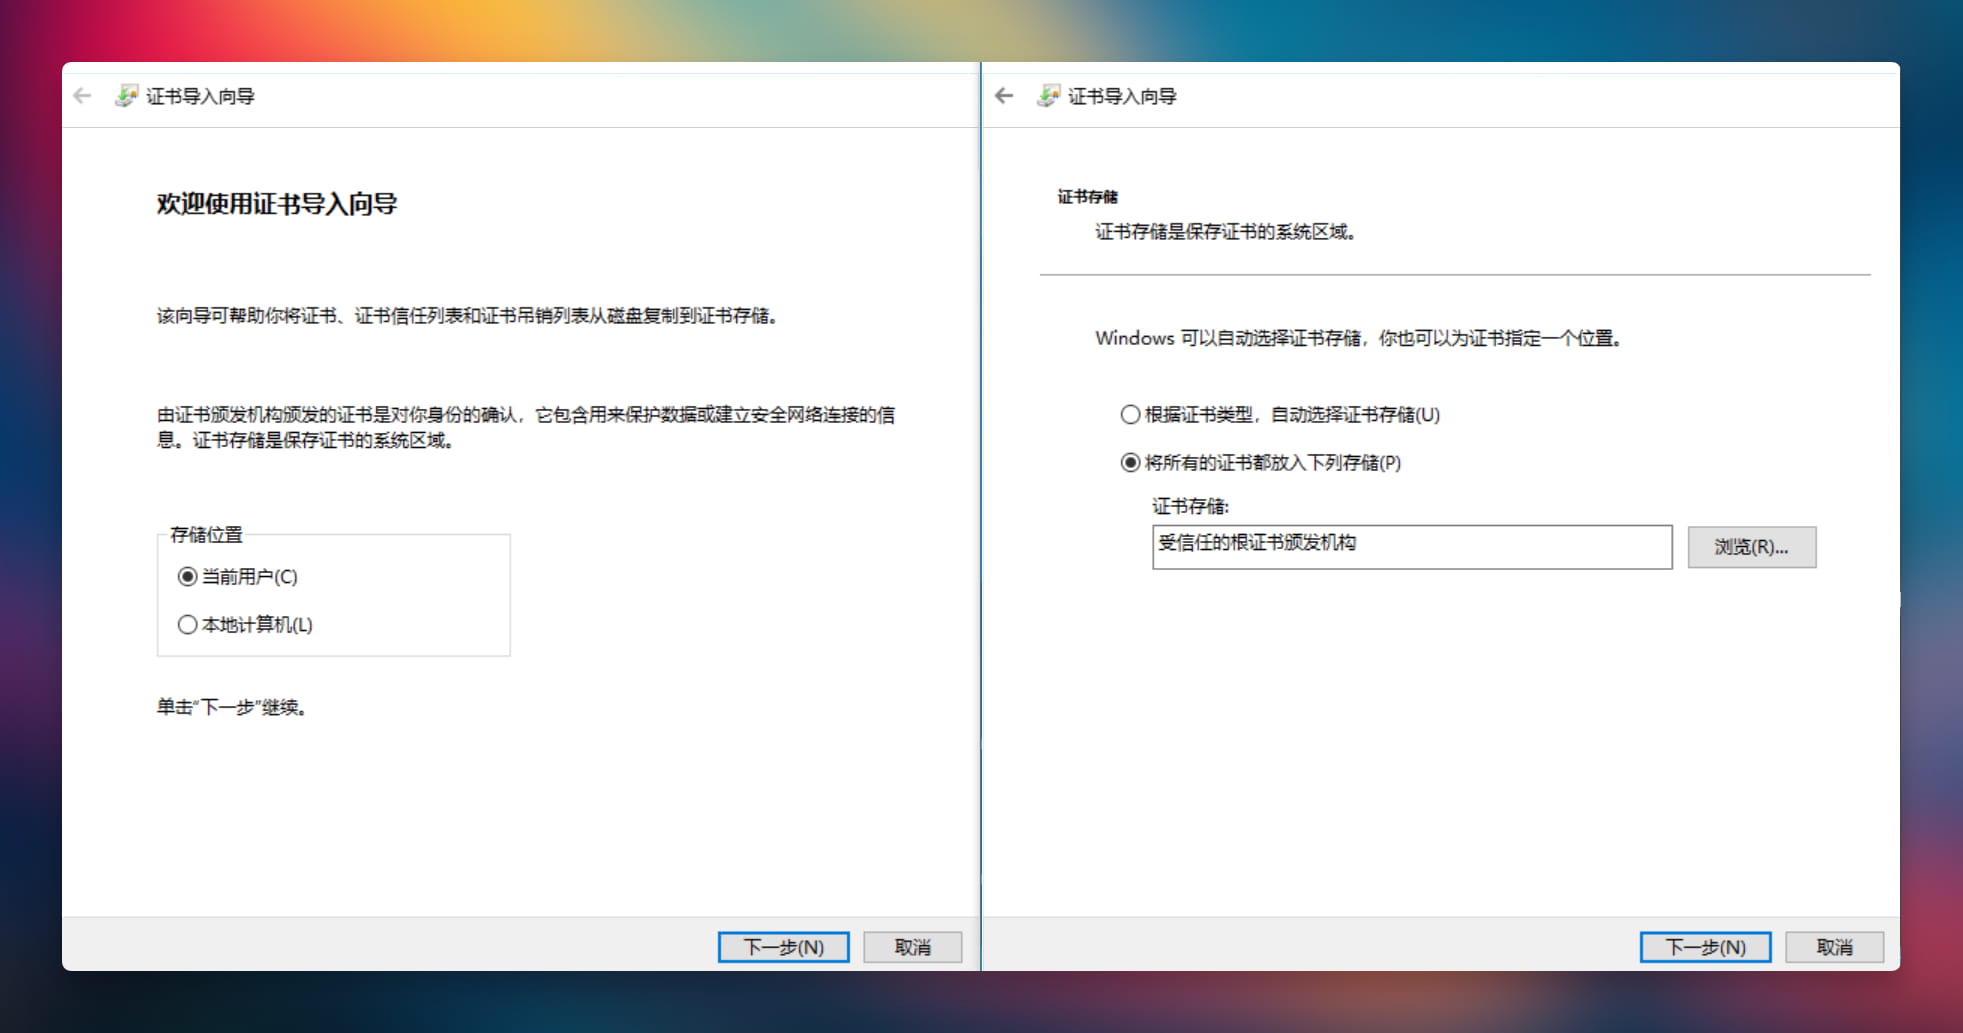
- 在根证书文件点鼠标右键,选择 “安装证书”。
- 选择 “当前用户” 或者 “本地计算机”,下一步
- “将所有的证书都放入下列存储”,“浏览”,“受信任的根证书颁发机构”,“确定”,下一步。
- 完成,“是”,确定。
Linux
Linux 不同发行版更新根证书存储的命令不一样,用来保存私有证书的路径也不一样。需要先复制自签名 CA 证书到特定路径,再运行命令更新根证书存储。
- Debian/Ubuntu/Gentoo
- CentOS/Fedora/RHEL
- Alpine
- OpenSUSE/SLES
# Debian/Ubuntu/Gentoo
# - 安装
$ sudo cp root_ca.crt /usr/local/share/ca-certificates/root_ca.crt
# update-ca-certificates 会添加 /etc/ca-certificates.conf 配置文件中指定的证书
#   另外所有 /usr/local/share/ca-certificates/*.crt 会被列为隐式信任
$ sudo update-ca-certificates

# - 删除
$ sudo rm /usr/local/share/ca-certificates/root_ca.crt
$ sudo update-ca-certificates --fresh
# CentOS/Fedora/RHEL
$ yum install ca-certificates
# 启用动态 CA 配置功能:
$ update-ca-trust force-enable
$ cp root_ca.crt /etc/pki/ca-trust/source/anchors/
$ update-ca-trust
# Alpine
$ apk update && apk add --no-cache ca-certificates
$ cp root_ca.crt /usr/local/share/ca-certificates/
$ update-ca-certificates
# OpenSUSE/SLES
$ cp root_ca.crt /etc/pki/trust/anchors/
$ update-ca-certificates
激活集群
集群安装完成后,需要激活集群,步骤如下:
首先点击桌面的「许可证」打开许可证应用:

然后点击出现的页面左侧的「激活/购买」:

然后浏览器会跳转到 License 页面:

如果你还没有在该页面创建过集群,就点击左上角-价格-获取,立即开始创建一个集群;如果你已经创建过集群了,只需要点击「我的集群」便会跳转到已有集群。
新购买一个集群后,点进进入会看到新购买的集群显示-未激活:

点击集群管理,在集群激活处输入一个集群id(自取,不能和他人重复),输入完成后点击激活即可成功激活集群。

5.成功激活集群后,集群管理的右侧会出现License管理选项,点击进入,在License列表下面导出License:

6.导出License后,回到 Sealos 集群的「许可证」应用界面,点击「上传 License 文件」:

选择刚刚下载的 License 文件进行上传,然后点击右下角的「激活 License」,便可激活 License。
