
The Ultimate Step-By-Step Guide To Creating Your Own MCP Server with Sealos DevBox
Sealos DevBox offers a streamlined solution, allowing you to develop and deploy your own MCP server in minutes.
The Ultimate Step-By-Step Guide To Creating Your Own MCP Server with Sealos DevBox
With the growing popularity of Machine Context Protocol (MCP), developers increasingly want to create custom MCP servers to extend AI capabilities. Sealos DevBox offers a streamlined solution, allowing you to develop and deploy your own MCP server in minutes. This comprehensive guide walks you through the entire process, from initial setup to deployment.
Want to get started straight away? Deploy an MCP server with DevBox.
You can also follow along with the video tutorial:
What is an MCP Server?
Machine Context Protocol (MCP) servers extend AI capabilities by connecting large language models to external tools and services. By developing your own MCP server, you can create custom integrations that empower AI models to perform specialized tasks. If you want to learn more checkout: What is MCP?
Getting Started with Sealos DevBox
Step 1: Create Your Development Environment
- Visit Sealos Cloud
- Click on the DevBox icon and select "New Project"
- In the configuration settings, choose "MCP Service" as your development framework
- Select your preferred programming language (Python, JavaScript, Go, etc.)
- Click "Create" to finish setting up your project
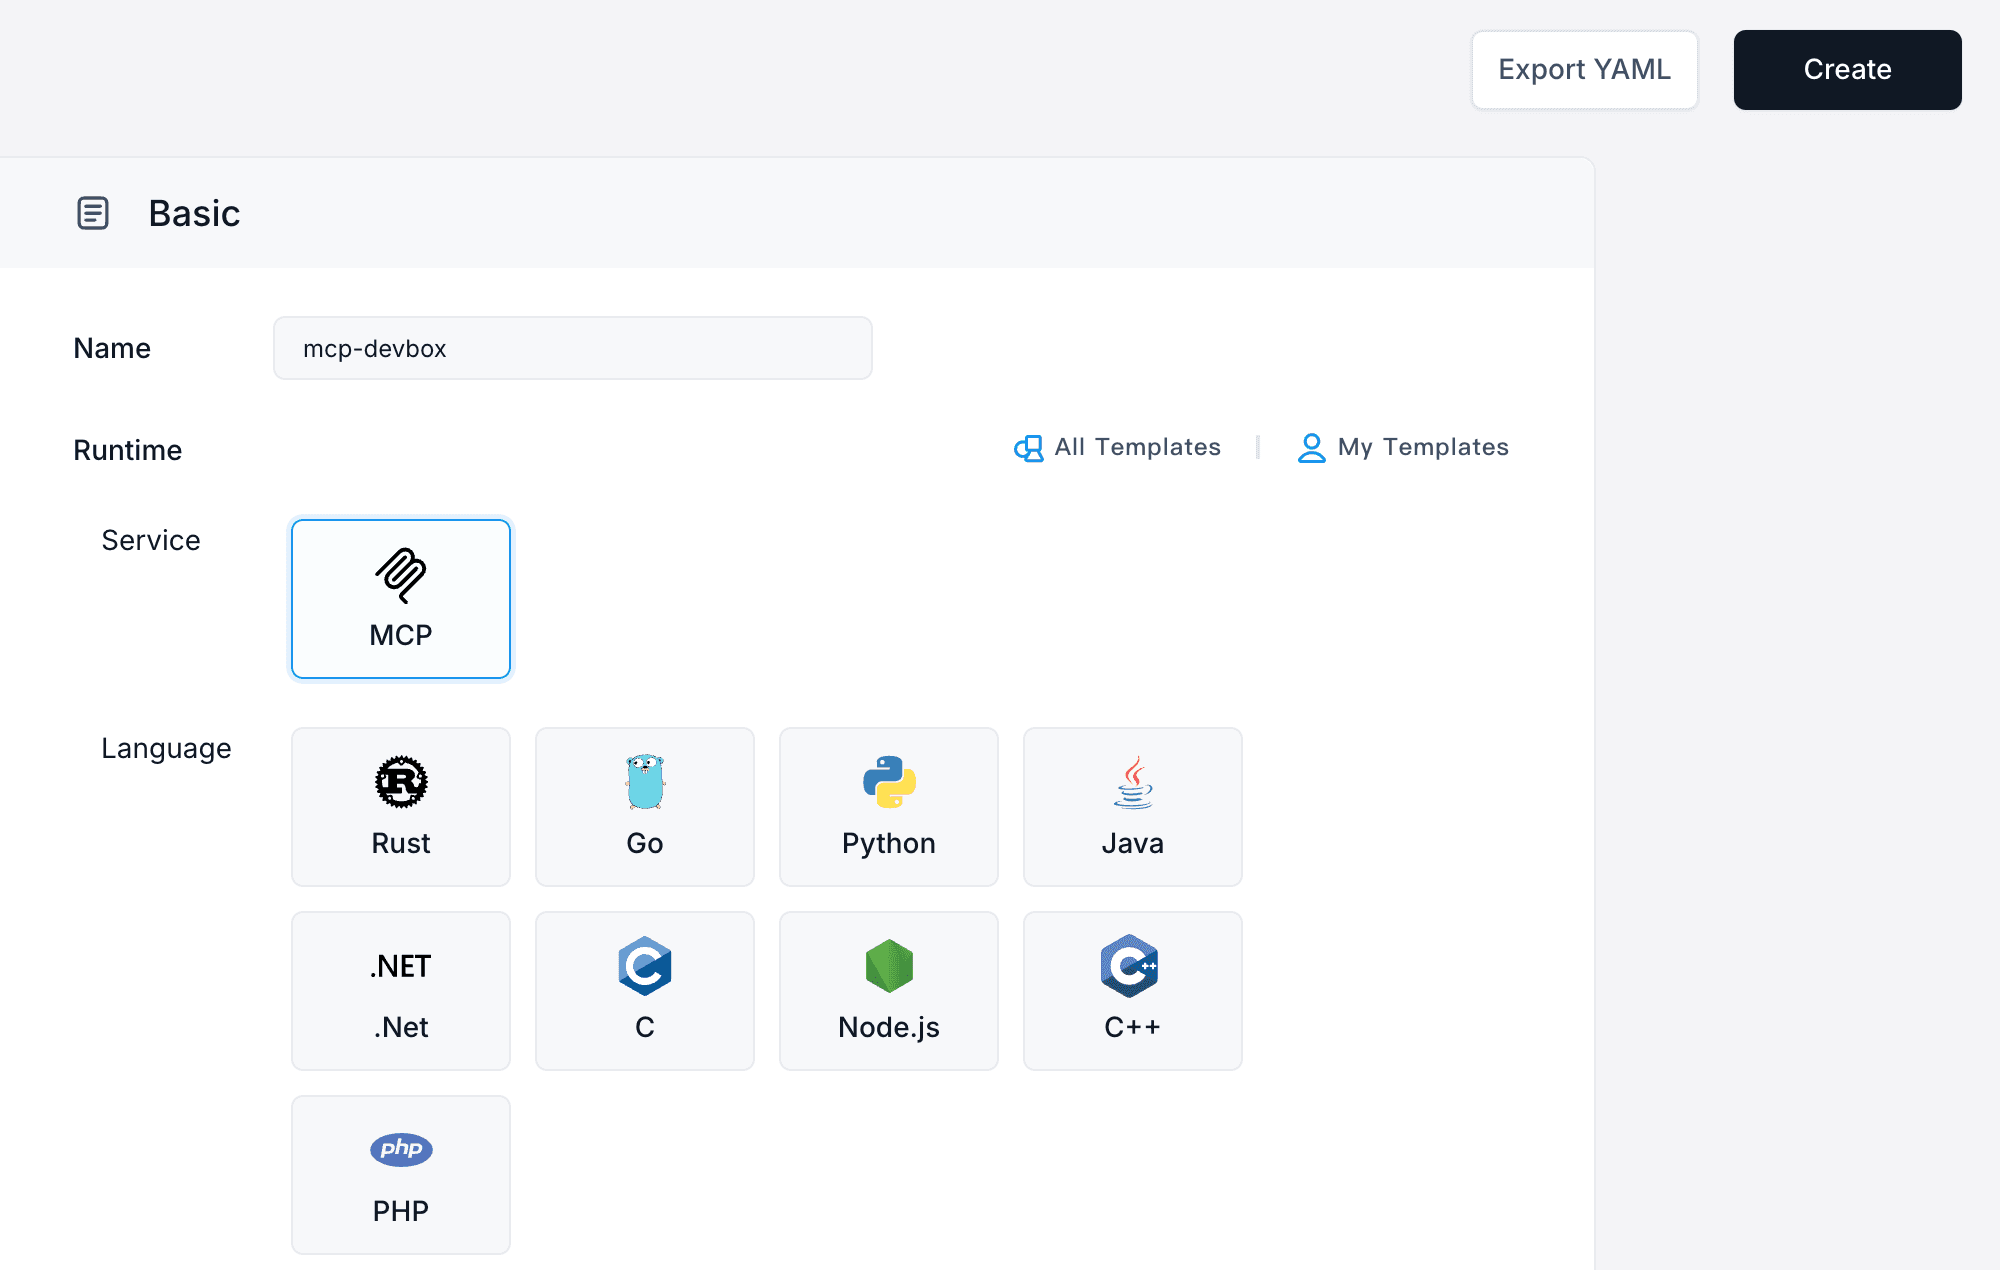 Create a new DevBox project using the MCP template
Step 2: Connect to Your Development Environment
- In the project list, find your newly created project
- Click the dropdown arrow next to the IDE icon
- Select your preferred IDE (VS Code, JetBrains, etc.)
- Follow the prompts to install the DevBox plugin for secure SSH connection
- Your IDE will automatically establish a remote connection
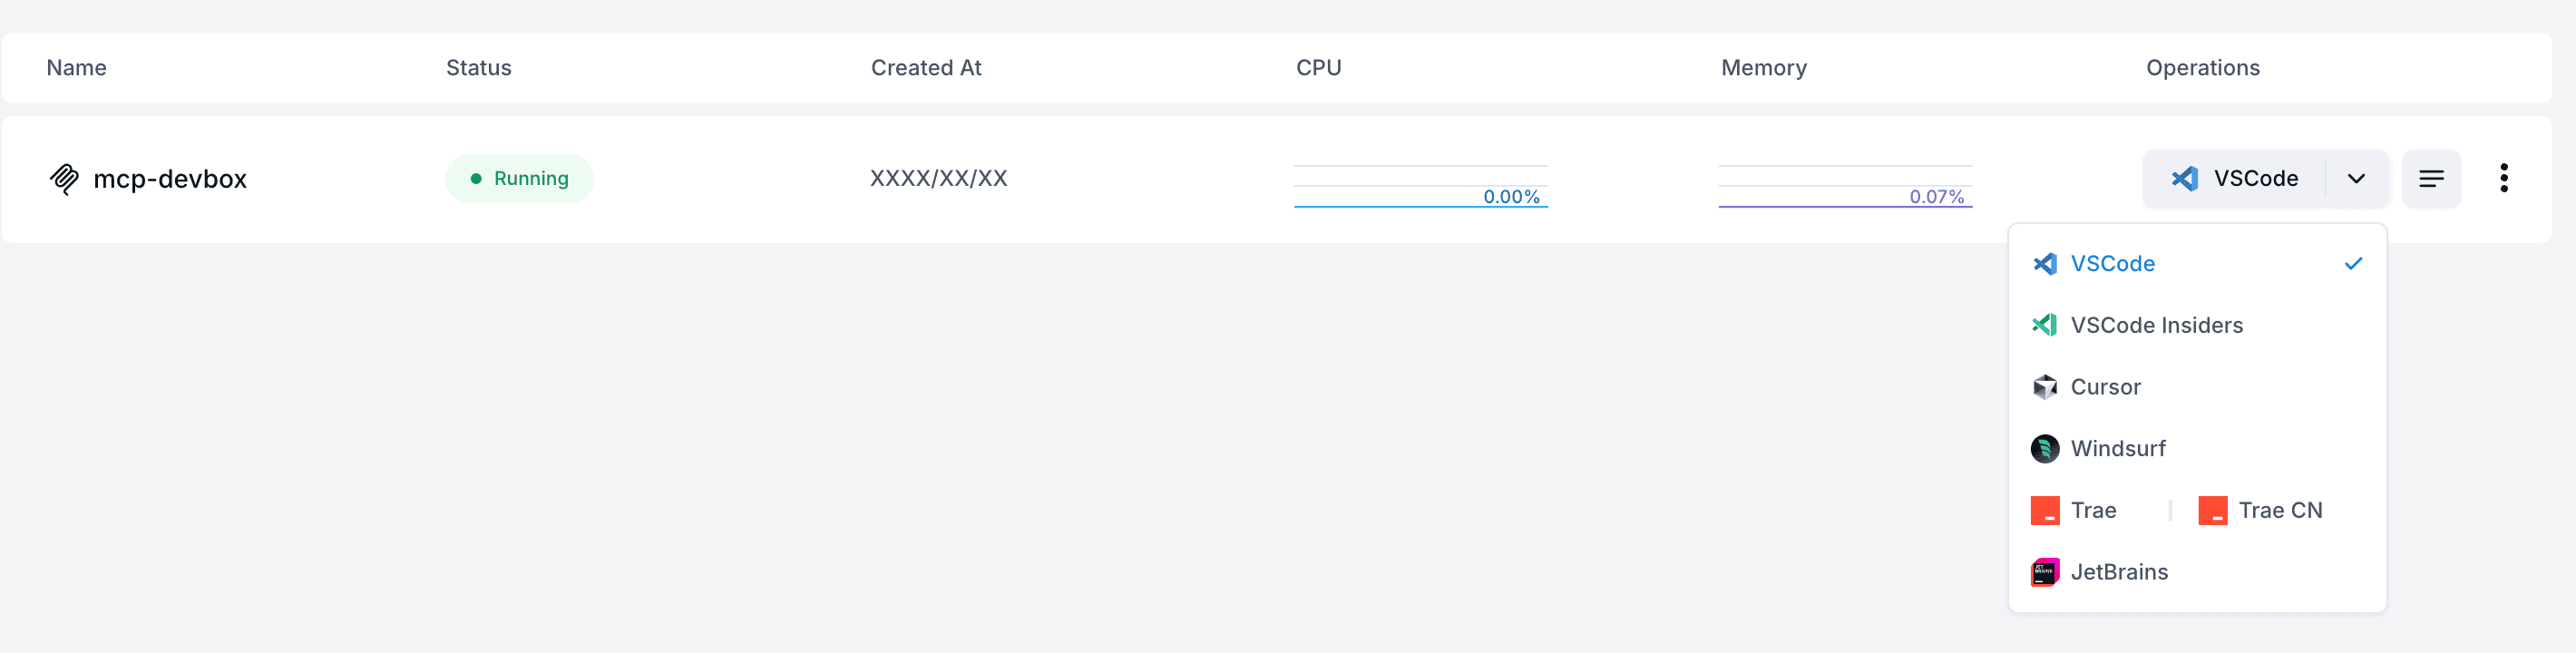 Connect to your DevBox directly from your IDE with 1-click
Step 3: Understanding the Project Structure
Once connected, you'll see a basic project structure. In this example we will go other the Python deployment - so the file names and contents may vary slightly. In the Python version you will find:
.venv: Contains all project dependencies (MCP-related dependencies are pre-installed)entrypoint.sh: Contains project startup commandsmanage.py: Your main program file (for Python projects)
Developing Your MCP Server
The template includes three main components:
1. MCP Service Initialization
This initializes your MCP service with a specified name.
2. SSE Communication Logic
The template includes pre-configured Server-Sent Events (SSE) communication code to handle client connections, so you don't need to modify this part.
3. Tool Implementation
This is where you'll implement your MCP server's functionality.
Practical Example: IP Geolocation Service
Let's create an MCP server that retrieves geographical information based on IP addresses.
First let's add the dependency httpx towards the top of the file import httpx and then we can add our main function:
This function accepts an IP address parameter, queries an external geolocation API, and returns the results in JSON format.
Running and Testing Your MCP Server
- Execute
./entrypoint.shto start your project - In VSCode Network tab, you can see your public URL
- This URL is your MCP server's public endpoint that anyone can access
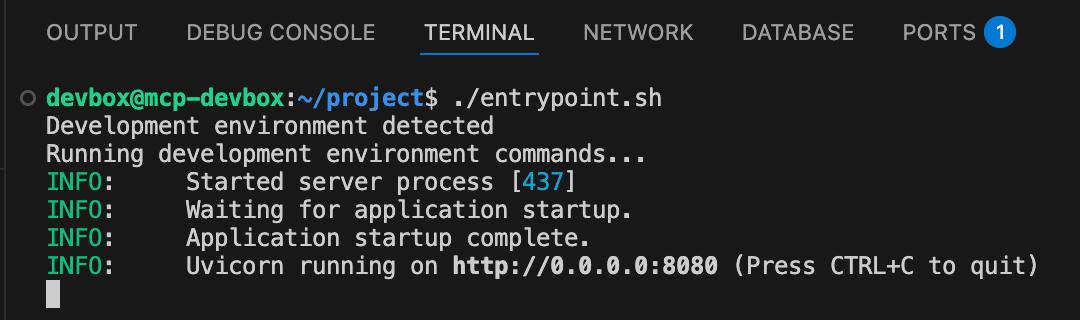 Run your DevBox project from the entrypoint script
Connecting to Your MCP Server
You can connect to your MCP server using any SSE-compatible client. Let's go with Cherry Studio as an example:
- Install Cherry Studio
- Add your preferred AI model (like OpenAI or DeepSeek)
- Add your MCP server:
- Type: SSE
- URL: Your public URL + "/sse" path
- Enable tool calling in your model's settings
- In the chat interface, enable your MCP server
- Test by asking the AI to look up an IP address
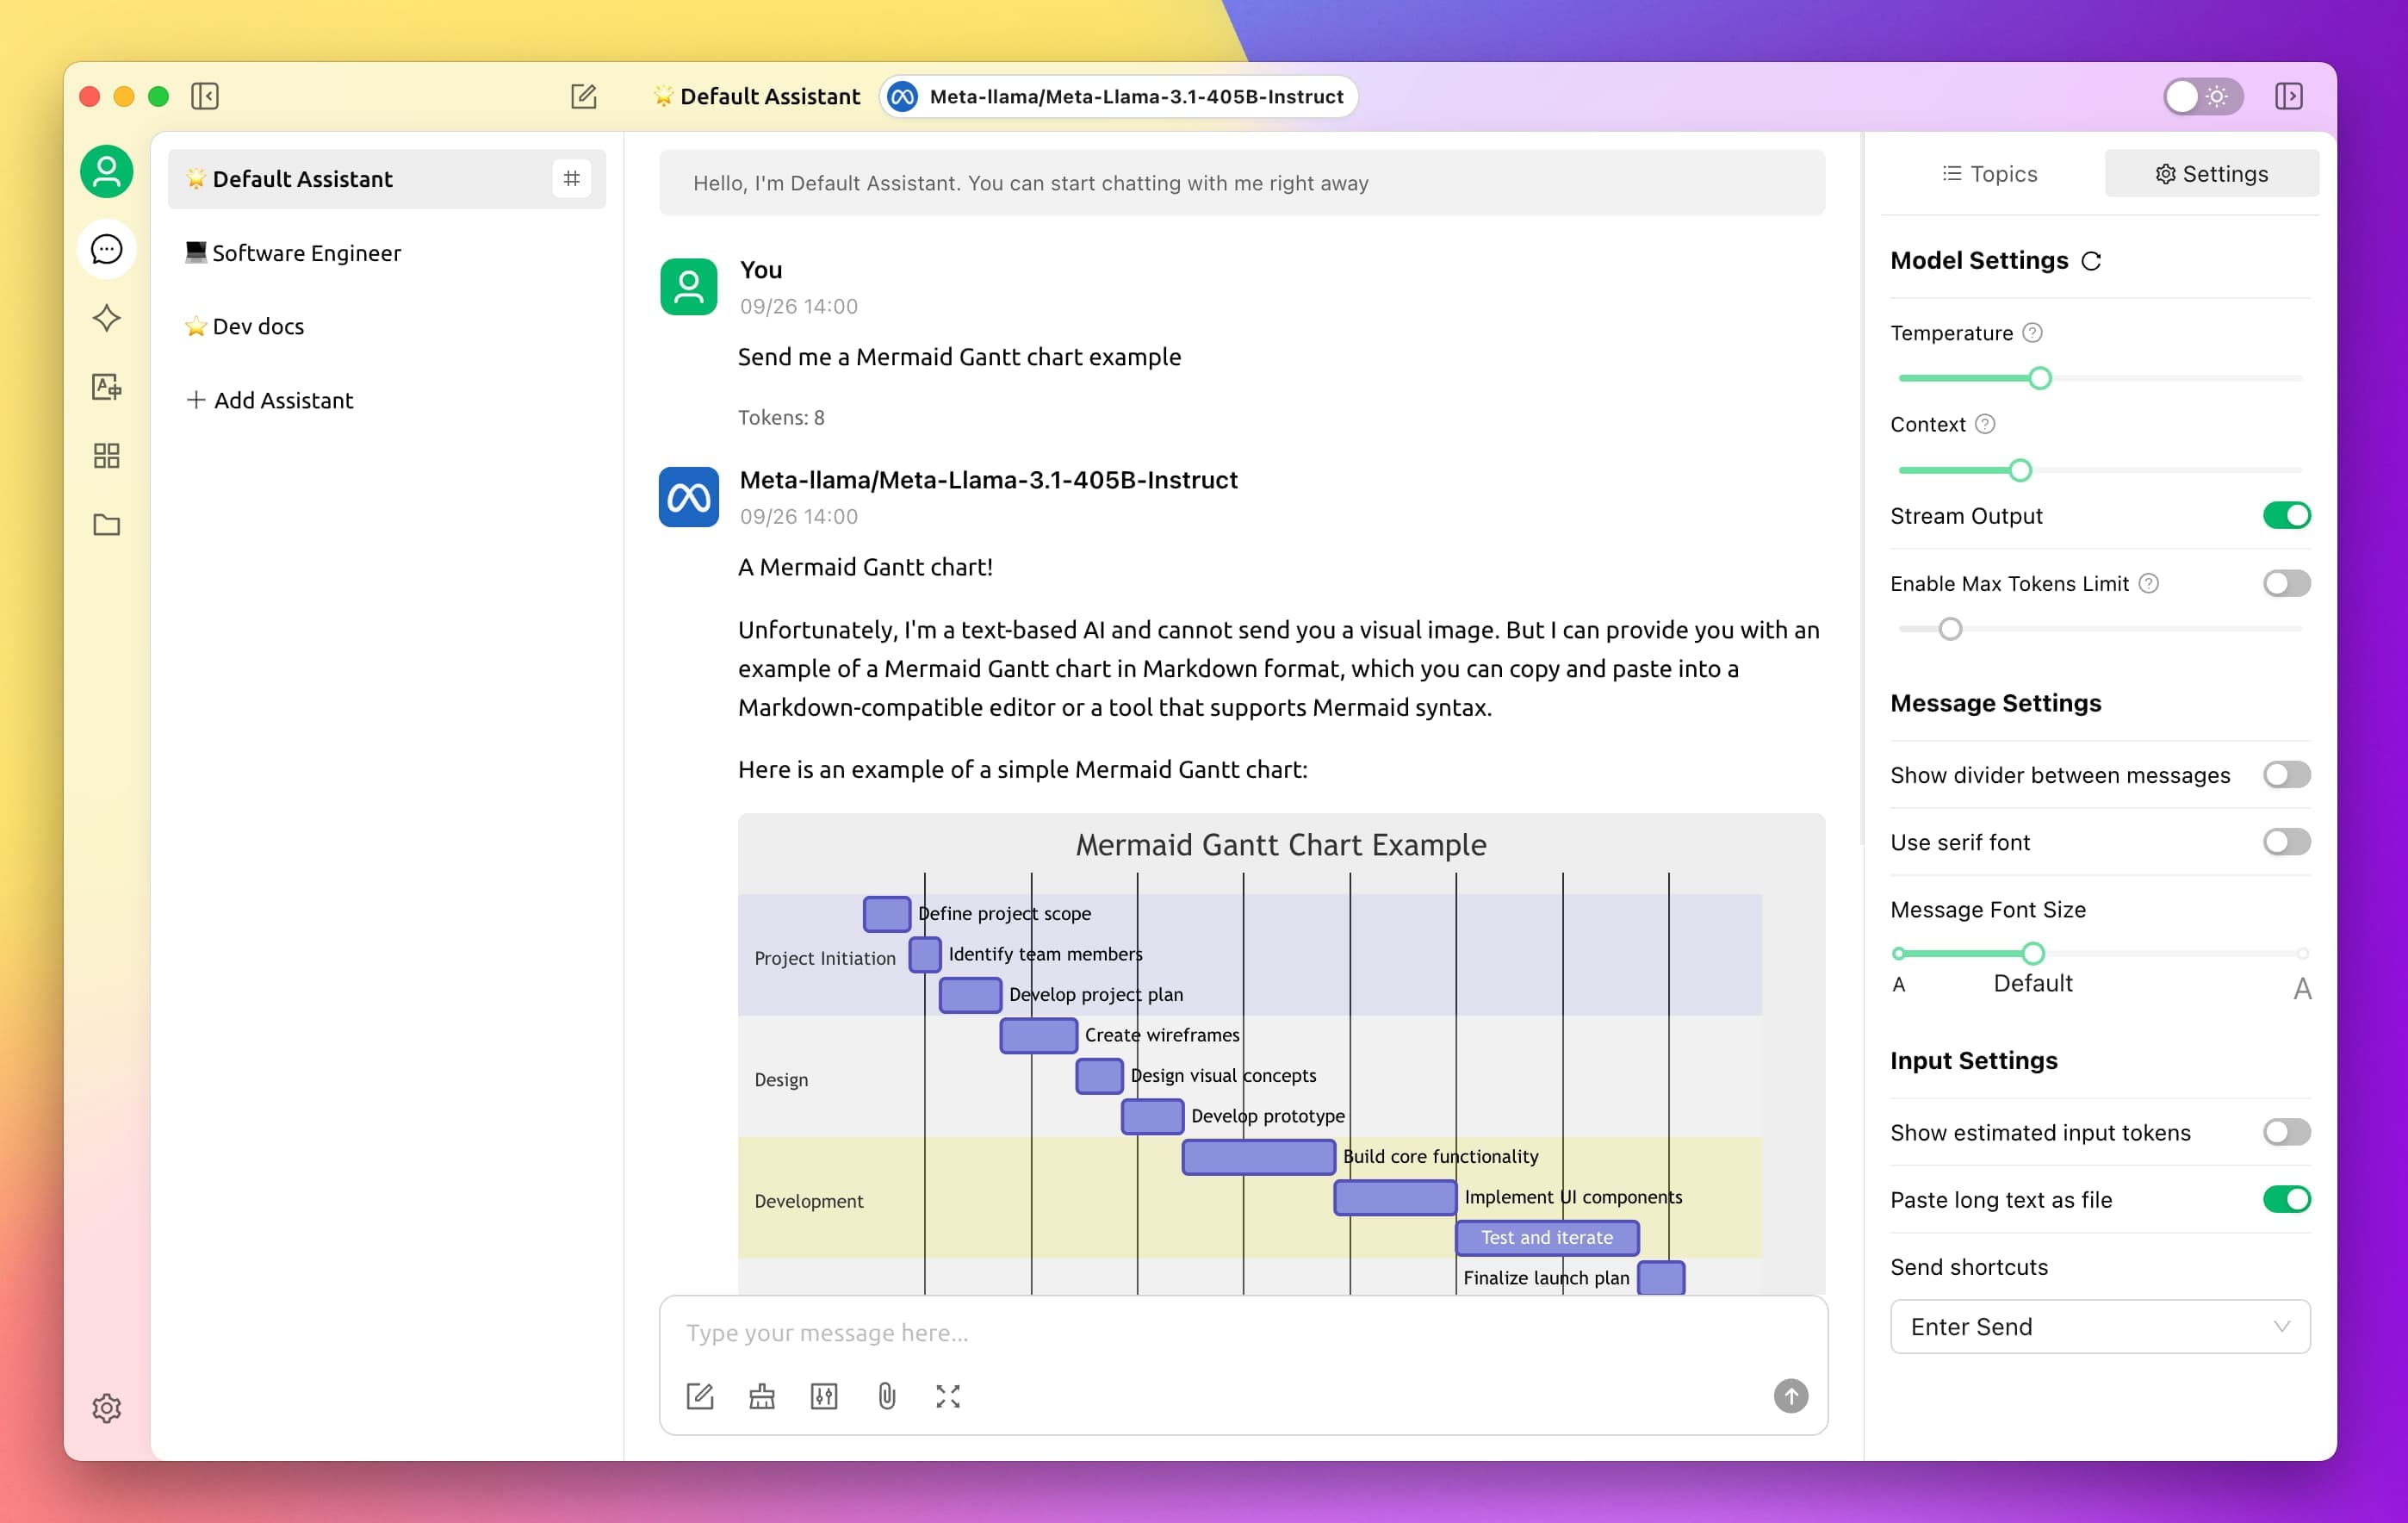 Cherry Studio is an SSE-compatible client
Deploying Your MCP Server to Production
Once development and testing are complete:
- Navigate to the "Version History" section in your project details
- Click "Publish Version"
- Fill in the required information:
- Image name (auto-filled)
- Version number (e.g., v1.0)
- Description
- Click "Release" and then "Deploy"
- The system will redirect you to Sealos Application Management
- Click "Deploy Application" (default configurations are usually sufficient)
- When the status shows "running," your deployment is complete
- Copy the public address and update it in your client application
 Once ready you can publish your DevBox
Conclusion
With Sealos DevBox, developing and deploying MCP servers becomes remarkably simple and accessible. As the MCP protocol continues to evolve, AI capabilities will become increasingly powerful and diverse, lowering development barriers further.
The ease of development means your creativity, not technical constraint, will define what's possible. Whether you're building tools for data analysis, content generation, or specialized industry applications, Sealos DevBox provides the infrastructure to bring your ideas to life quickly.
Start building your own MCP server today and join the growing ecosystem of developers extending AI capabilities!
Unify Your Entire Workflow.
Code in a ready-to-use cloud environment, deploy with a click. Sealos combines the entire dev-to-prod lifecycle into one seamless platform. No more context switching.
Related Articles

Create Your Own Eaglercraft Server in 2025: The Complete Guide
Set up your own private Eaglercraft server and play Minecraft 1.8.8 directly in your browser—no download required. Step-by-step guide with Docker and one-click deployment.

An Honest Review: Migrating a Complex Microservice App from Heroku to Sealos
A practical, candid walkthrough of migrating a complex microservice architecture from Heroku to Sealos. It highlights the key challenges, strategies, and outcomes to help teams plan their own migrations.

Deploying n8n with Docker: From Local Setups to a Radically Simple Cloud Alternative
Master n8n deployment from Docker basics to production-ready setups. Learn docker run, docker compose with PostgreSQL, and discover Sealos - the one-click cloud alternative that eliminates Docker complexity while delivering enterprise features.

Setting Up a Collaborative Python Data Science Environment with DevBox
This guide walks you through setting up a shared Python data science workspace using DevBox, ensuring consistent environments across the team. Learn how to manage dependencies, notebooks, and version control for seamless collaboration.
Explore with AI
Get AI insights on this article
